Saturday, May 6, 2017

Week 14- Final Illustration

For this week we had to have the illustrations done for our final project. Based off of my sketches I chose to do the majority of the project in illustrator to give it a kind of cartoon like feel. So in illustrator I used the pen tool to and the gradient tool to complete the illustrations. These are the illustrations I used for the top panel.

These are the ones I used for the middle panel.


And these are the ones I used for the bottom Panel

 These Illustrations were the ones I used as a basis for each of the ones I used in the three panels. I copied and pasted the illustrations on the panels and then manipulated them to fit with the photos that were in place.

Friday, May 5, 2017

Week 13 - Final project prep

This week we had to have all of our photos that we were using for our final project that we talked about last week. Our final project is to create a series of three on 12x12 paper based on the theme that we chose, which was war. In the series we had to utilize all of the tools that we used over the semester; Photoshop, Illustrator, photos and the paper cutter. I chose to do a war between cupcakes and muffins for the purpose of having a lighter project for a heavy topic and these were the sketches that I came up with for the idea.


Top Panel

Middle Panel

Bottom Panel

After sketching out my idea I decided to use photos for the cupcakes, muffins, the butter knives, and the clouds on the top panel. These were the photos that I collected for the assignment.


Monday, May 1, 2017

Week 8 - Focused Photos

For this week we had to take photos that we took and use an overlay with a circle cut out of it to create a focus point of the photo. We also used aspects of the pop project to make the focal point stand out even more. All of these were photos that I had previously altered and brought them back into photoshop to complete the assignment. All of the photos also had to have text along with them.
For all of these I used the same peachy pink overlay and the same purple background that i got to show through the background by changing the transparency setting to multiply. I also used blue as a pop color in all of these. The font that i used for these is called moon flower.


Week 12- Final Stencils

Using the critiques we received last week we were tasked with creating a final paper cut that improved on the last one. To add on to the challenge we had to use at least one piece of patterned paper. From what advice people gave me last week I added a tail to the face, changed the color of it, and put it in a place. This was the stencil I worked from.


And this is what it looked like after I added the trees and traced it in silhouette.


This was the final result. I used burgundy to convey that it was a fox, I used green to convey the leaves of the trees and the grass, and I used the newspaper patterned paper for the trees. I used the newspaper for the trees because paper is made from trees and newspapers are printed on paper
 

Week 11- More Stencils

After getting used to using the paper cutter we were tasked this week with creating either a perfect positive and negative stencil, with both all of the whites and all of the blacks touching, or creating a three color composition. I chose to create a perfect positive and negative stencil. I used a picture of a fox to create my stencil for this week since i really like foxes and this particular picture stood out to me.
Using this image I created this basic stencil.

After using the paper cutter these were the final result.

I used the pale blue and black for these because they contrasted nicely. However it gave my work more of a feeling of being a wolf howling at the moon than a fox.


Week 10- Stencils

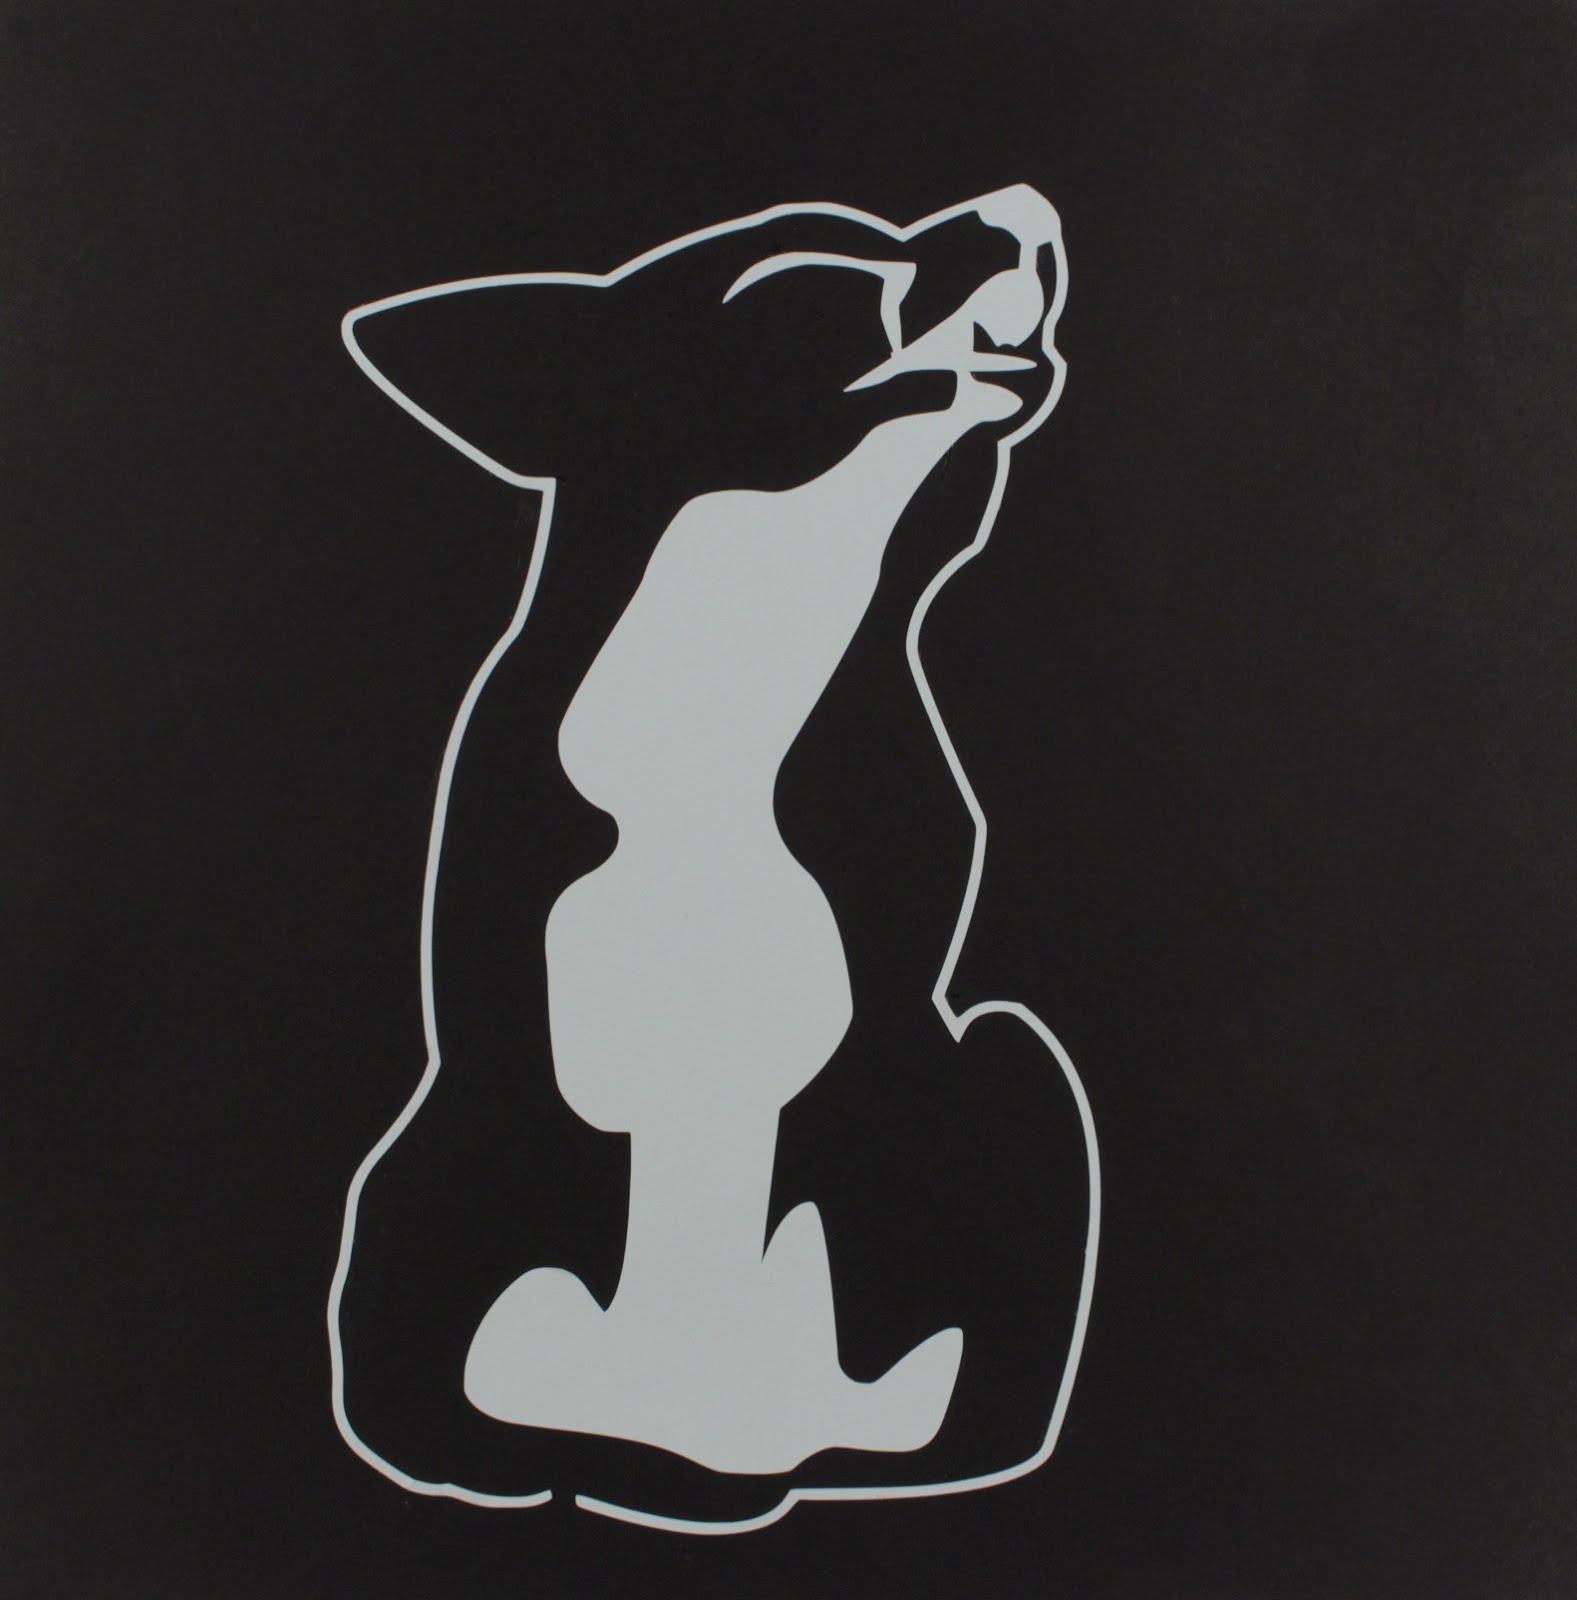
For this week we created a stencil and used the paper cutter to cut it out. The goal was to get all the whites to touch or all the blacks to touch to get at least one perfect stencil. This is the stencil that I came with. I chose to do baby Groot. To create this stencil I looked at two different photos, one to get most of his face and the other to get the top of his head.

This was the original stencil that I added an offset oval to to create an interesting composition.
I then took the stencil and used a program called Silhouette studio and created a tracing of it to use in the paper cut 
For the piece to be cut out I used a brown piece of card stock since Groot is brown. I then pasted the cut out paper on top of a piece of navy blue card stock since I really liked the color combination. this was the final result.  

Monday, March 13, 2017

Week 9

This week we were assigned to collect 20 photos, 10 of an outdoor space and 10 of an indoor space. I took each of these photos on my phone camera with no flash. These were the result.
     These are all of the indoor photos. They are taken in various places around the school and my dorm with the exception of the last one which was taken at Centennial Lanes.


        These are the ones that I took outside. These were either taken by my house or on campus.


Friday, March 3, 2017

Week 6- Photos

         This week we were supposed to take 20 photos. 10 of them were us taking our camera to things and the other 10 were us bringing things to our camera. Each one of these pictures were taken through Snapchat using my phone camera. After taking each picture I made them black and white using a filter on the app.
         This group often were the photos that took by bring my camera to them.


          These ten were things that I brought to my camera.